Discover practical guides for constructing compost bins‚ including 3-bin systems‚ wooden pallet designs‚ and wire mesh solutions. These PDF plans offer step-by-step instructions for eco-friendly composting at home.
What is a Compost Bin?
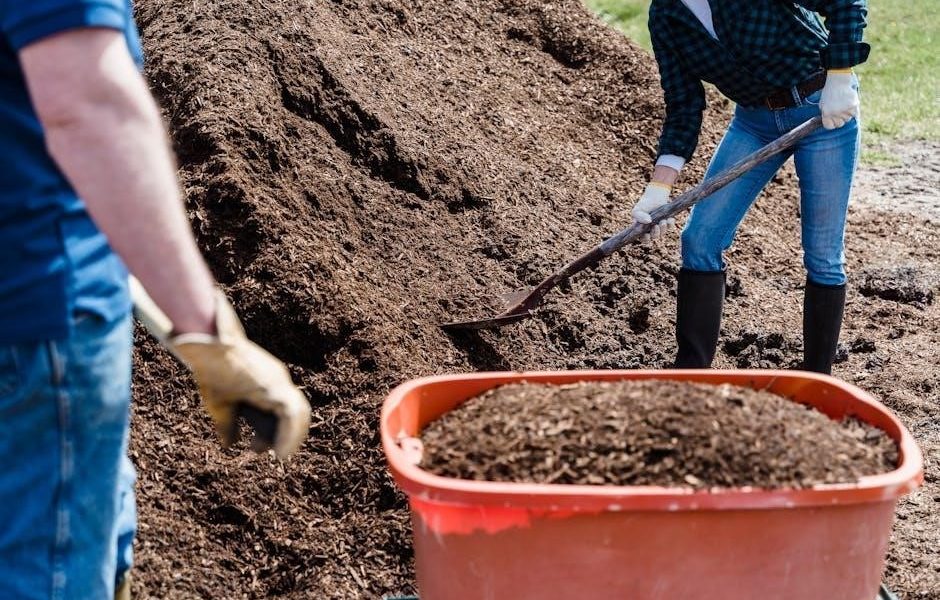
A compost bin is a container designed to hold organic waste‚ such as food scraps and yard trimmings‚ as it decomposes into nutrient-rich soil. It helps speed up the natural decomposition process by keeping materials organized and aerated. Compost bins can be made from various materials‚ including wood‚ wire mesh‚ or repurposed plastic containers. They are essential for recycling organic waste into a valuable natural fertilizer for gardens. While composting can be done without a bin‚ using one helps contain odors‚ deter pests‚ and maintain a tidy appearance. Properly designed bins also promote airflow and moisture retention‚ key factors for efficient composting.
Benefits of Using a Compost Bin
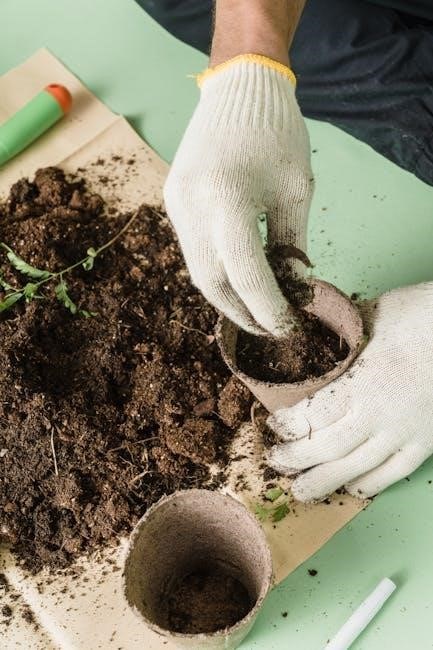
Using a compost bin offers numerous environmental and practical benefits. It reduces landfill waste by transforming organic materials into nutrient-rich compost‚ perfect for gardening. This natural fertilizer improves soil structure and plant health‚ reducing the need for chemical additives. Composting also decreases greenhouse gas emissions and saves money on waste disposal and fertilizer costs. Additionally‚ compost bins help maintain a clean yard by containing organic waste‚ minimizing odors‚ and deterring pests. They promote sustainability by recycling kitchen scraps and yard trimmings‚ making them an eco-friendly choice for homeowners aiming to reduce their environmental footprint while enhancing their garden’s productivity.
Why Choose a 3-Bin Compost System?
A 3-bin compost system is ideal for efficient organic waste management. It allows for separate compartments: one for adding fresh materials‚ another for active composting‚ and a third for curing finished compost. This setup prevents contamination and ensures optimal decomposition. Removable front slats facilitate easy turning and aerating‚ while hardware cloth deters rodents. The system is scalable‚ suitable for both small and large spaces‚ and can produce compost in 3–6 months. It’s a practical solution for homeowners aiming to maintain a tidy‚ productive garden while minimizing environmental impact through sustainable composting practices.
Types of Compost Bins
Explore various compost bin designs‚ including wooden pallet‚ wire mesh‚ cinder block‚ snow fence‚ and garbage can options‚ to find the perfect fit for your needs.
Wooden Pallet Bin
A wooden pallet bin is a cost-effective and eco-friendly option for composting. Made from 4 to 6 wooden pallets‚ it’s easy to assemble using heavy wire or nails. The bin should be at least 3 feet x 3 feet x 3 feet to ensure adequate space for decomposition. To prevent rodent access‚ hardware cloth can be added to the bottom and sides. This design allows for good airflow and easy access to turn the compost. It’s a durable solution for homeowners looking to recycle organic waste efficiently. Ensure the pallets are clean and free of chemicals for safe composting.
Wire Mesh Bin
A wire mesh bin is a lightweight and breathable option for composting. It is constructed using hardware cloth or galvanized mesh‚ ensuring excellent airflow and drainage. The bin is easy to disassemble and move‚ making it ideal for seasonal use. To build it‚ wrap the mesh around wooden or metal posts‚ securing it with heavy wire or plastic ties. The open design enhances decomposition speed and allows for easy turning of the compost. While it may not be as durable as other options‚ its simplicity and portability make it a great choice for small-scale composting needs. Ensure the mesh is tightly secured to prevent pests from accessing the contents.
Cinder Block Bin
A cinder block bin is a durable and long-lasting composting solution. Built using cinder blocks‚ it provides excellent insulation and can easily be expanded. The bin is constructed by stacking blocks to form a square or rectangular shape‚ with spaces for airflow. Sand or gravel is often used at the base for drainage. While it requires some construction effort‚ the bin is rodent-resistant and can hold large quantities of compost. Its sturdy design makes it suitable for year-round use. Although heavier and less portable than other options‚ it offers a reliable and low-maintenance composting system for gardeners seeking a permanent setup.
Snow Fence Bin
A snow fence bin is a lightweight and easy-to-assemble composting option. Constructed using snow fencing material‚ it offers excellent airflow and visibility. The bin is typically circular or oval‚ making it easy to turn compost. Its open design allows for simple access to add materials or aerate the pile. While it may not be as durable as other models‚ it is portable and ideal for small spaces. The breathable nature of the fencing promotes healthy decomposition and reduces odors. This eco-friendly solution is perfect for gardeners seeking a low-cost‚ easy-to-build composting system that repurposes readily available materials.
Garbage Can Composter
A garbage can composter is a budget-friendly and easy-to-assemble option for home composting. Using a standard plastic or metal garbage can‚ this system is ideal for small-scale composting. The process involves drilling holes for aeration and adding organic waste. While it requires regular turning to maintain airflow‚ this method is perfect for urban spaces with limited room. The enclosed design helps deter pests and contains odors. Although it may take longer to produce compost compared to other systems‚ its simplicity and affordability make it a practical choice for eco-conscious homeowners looking to recycle kitchen scraps and yard waste efficiently.
Materials and Tools Needed
Gather essential materials like wooden pallets‚ hardware cloth‚ heavy wire‚ and power tools. These items ensure durability and proper aeration for your composting system.
Wooden Pallets
Wooden pallets are a cost-effective and durable material for building compost bins. They provide structure and airflow‚ making them ideal for creating large‚ functional composting units. Typically‚ 4-6 pallets are needed to form a bin‚ ensuring sufficient space for decomposition. Pallets are easy to assemble using nails or wire‚ and their natural texture allows for proper aeration. They can be sourced from local businesses or online‚ often for free‚ making them an eco-friendly choice for DIY composters. This method is perfect for those looking to repurpose materials while maintaining efficiency in their composting process.
Hardware Cloth
Hardware cloth‚ a sturdy metal mesh‚ is essential for rodent-proofing compost bins. Its small holes prevent pests from entering while allowing airflow. Available in galvanized or vinyl-coated options‚ it ensures durability and rust resistance. Cut it to size and attach to bin lids or walls using wire or nails. This material is ideal for safeguarding compost from unwanted critters‚ ensuring a clean and efficient decomposition process. Its strength and versatility make it a key component in building long-lasting‚ pest-resistant composting systems.
Heavy Wire and Plastic Ties
Heavy wire and plastic ties are indispensable for securing pallets and attaching hardware cloth in compost bin construction. Durable and weather-resistant‚ they ensure structural integrity and prevent pests from breaching the bin. Use heavy-duty plastic ties to hold pallets together or wire to reinforce corners and edges. These materials are easy to work with and provide long-lasting support‚ keeping your compost bin stable and secure. They are essential for maintaining the bin’s structure while allowing airflow and access for turning compost. Proper use of these fasteners ensures a reliable and rodent-proof composting system.
Power Tools
Power tools are essential for efficiently constructing compost bins‚ especially when working with materials like wood or metal. A cordless drill is ideal for driving screws and tightening plastic ties‚ while a circular saw simplifies cutting lumber to precise measurements. Impact wrenches are useful for securing bolts‚ and reciprocating saws can handle tough cuts in pallets or wire mesh. These tools save time and effort‚ ensuring a sturdy and well-constructed compost bin. Proper use of power tools helps achieve professional-grade results‚ making your composting setup both functional and durable for years of reliable service.
Galvanized Mesh
Galvanized mesh is a durable and versatile material commonly used in compost bin construction to prevent pests and improve airflow. Its rust-resistant coating ensures longevity‚ even in outdoor conditions. The mesh allows for proper ventilation‚ promoting healthy microbial activity and reducing odors. When installing‚ cut the mesh to size and attach it to the bin’s walls or lid using heavy-duty wire or screws. This material is ideal for maintaining aeration while keeping rodents and insects out. Regular inspection ensures the mesh remains intact and continues to function effectively. Galvanized mesh is a practical choice for both DIY and advanced composting setups‚ enhancing efficiency and durability.

Step-by-Step Construction Guide
This section provides detailed tutorials for building compost bins using materials like wooden pallets‚ wire mesh‚ and cinder blocks. Follow easy‚ actionable steps to create durable systems.
Building a Holding Unit with Wooden Pallets
Start by gathering 4-6 wooden pallets and necessary tools. Nail or wire the pallets together to form a four-sided bin‚ ensuring each side is at least 3 feet tall. Secure the corners tightly for stability. If desired‚ add a galvanized mesh bottom for rodent protection and improved airflow. Attach a hinged front gate for easy access to the compost. This method is cost-effective and ideal for large-scale composting. Follow the step-by-step instructions to build a durable and functional holding unit for your composting needs. Ensure the bin is well-ventilated to promote decomposition and maintain efficiency.
Assembling a Wire Mesh Bin
Construct a wire mesh bin using hardware cloth or galvanized mesh for durability. Cut the mesh into sections‚ forming a cylindrical shape. Secure the edges with heavy wire or plastic ties. Create a frame using wooden stakes or metal rods for support. Bury the bottom of the bin underground to prevent rodent access. Add a removable lid to facilitate turning and aerating the compost. This design promotes airflow and helps speed up decomposition. Follow the PDF plans for precise measurements and assembly steps to ensure a functional and long-lasting composting system.
Constructing a Cinder Block Bin
Build a durable compost bin using cinder blocks‚ ideal for long-term use. Start by laying a foundation of sand or gravel for drainage. Stack cinder blocks to form a square or rectangular structure‚ leaving spaces for airflow. Reinforce the corners with mortar for stability. Add a front opening for easy access to the compost. Optionally‚ top with a roof to protect from rain. This method offers excellent rodent resistance and insulation. Follow PDF plans for precise block placement and optional features like a hinged gate for turning compost efficiently. This sturdy design ensures years of reliable composting performance.
Creating a Snow Fence Bin
A snow fence compost bin is a budget-friendly and lightweight option. Use wooden corner posts and wire ties to secure the snow fencing into a rectangular shape. This design allows excellent airflow‚ essential for efficient composting. Simply unhook the wire ties to disassemble and turn the compost. The flexible nature of the fencing makes it easy to relocate or resize the bin as needed. While not as durable as other materials‚ it provides a cost-effective solution for temporary or seasonal composting needs. Follow PDF plans for detailed instructions on constructing this simple‚ eco-friendly bin.
Setting Up a Garbage Can Composter
A garbage can composter is an inexpensive and easy-to-build option for small-scale composting. Start by selecting a sturdy‚ food-grade plastic garbage can with a tight-fitting lid. Drill several holes in the bottom and sides for aeration and drainage. Place the can on a level surface‚ preferably on bricks or wooden slats to improve airflow. Add organic materials‚ layering green and brown waste‚ and turn the mixture regularly. This method is ideal for urban spaces due to its compact size. Follow PDF plans for detailed instructions on converting a garbage can into a functional composter‚ ensuring proper ventilation and odour management.
Maintenance and Pest Control
Regularly aerate compost piles and ensure proper moisture levels to prevent odors. Use hardware cloth or mesh to deter pests like rodents and raccoons effectively.
Keeping Your Compost Bin Rodent-Resistant
To protect your compost bin from rodents‚ use hardware cloth with holes no larger than 1/4 inch to cover vents and openings. Secure lids tightly and avoid adding meat‚ dairy‚ or oily foods‚ as these attract pests. Burying the bin 12 inches underground or using metal mesh around the base can also deter rodents. Regularly turning the compost and maintaining the right moisture levels helps reduce odors that draw pests. Ensuring your bin is well-constructed and regularly maintained will keep rodents away and your compost healthy.
Managing Odors and Pests
Balancing green and brown materials is key to minimizing odors. Add bedding like straw or shredded paper to absorb moisture and smells. Regularly aerate the pile by turning it to introduce oxygen‚ which breaks down waste efficiently. Avoid adding meat‚ dairy‚ and oils‚ as these attract pests. Use natural deterrents like citrus peels or cinnamon to repel insects; Ensure proper airflow by leaving space between materials. Monitor moisture levels to prevent sogginess‚ which fosters odor-causing bacteria; By maintaining these practices‚ you can keep your compost bin odor-free and pest-resistant‚ ensuring a healthy and productive composting process.
Turning and Aerating the Compost
Regular turning and aerating are essential for efficient decomposition. Use a compost turner or shovel to mix materials‚ ensuring oxygen reaches all parts. Aim to turn the pile every 7-10 days‚ especially if it’s a hot composting setup. Add brown materials like straw or leaves if the pile is too wet. Proper aeration speeds up the breakdown process and prevents anaerobic odors. For multi-bin systems‚ transfer materials between bins to aerate and separate finished compost. This practice ensures a consistent supply of nutrient-rich soil amendment‚ promoting healthy plant growth and sustainable gardening practices.
Optimizing Compost Results
Maximize your composting efforts by balancing materials‚ monitoring moisture‚ and maintaining aeration. Regular turning and proper bin construction ensure efficient decomposition and high-quality soil enrichment.
Best Practices for Adding Materials
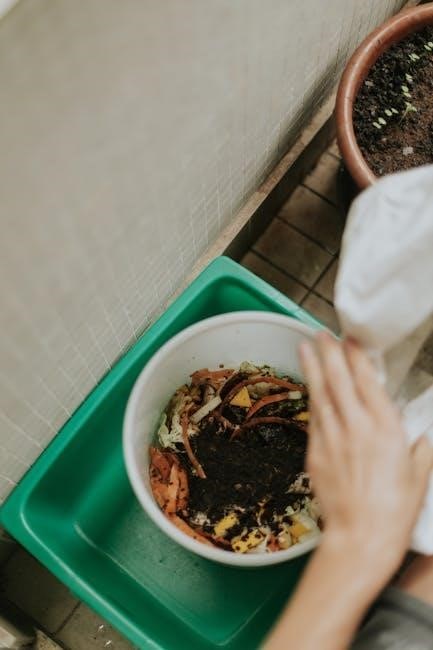
For optimal composting‚ balance “green” materials (food scraps‚ grass clippings) with “brown” materials (dried leaves‚ shredded paper). Shredding larger items improves decomposition rates. Avoid adding meat‚ dairy‚ oils‚ and pet waste to prevent pests. Maintain moisture levels‚ keeping the mix damp but not soggy. Layering materials and turning the pile regularly ensures proper aeration and accelerates the process. Monitor the carbon-to-nitrogen ratio‚ aiming for 2/3 brown materials and 1/3 green materials. This balanced approach fosters a healthy environment for microbes‚ leading to rich‚ nutrient-dense compost for your garden.
Monitoring Temperature and Moisture
Regularly monitor the temperature and moisture levels in your compost bin to ensure optimal decomposition. Use a compost thermometer to check internal temperatures‚ which should range between 130°F and 140°F for active composting. Excessive heat can kill beneficial microbes‚ so turn the pile if temperatures rise too high. Maintain a moisture level similar to a damp sponge; excess moisture leads to anaerobic conditions and odors‚ while dryness slows decomposition. If the pile feels too wet‚ add brown materials like straw or shredded paper. If too dry‚ incorporate green materials or water sparingly. Proper aeration and balance are key to fostering healthy microbial activity.
Harvesting Finished Compost
Harvesting finished compost is the final step in your composting journey. Once the material is dark‚ crumbly‚ and has an earthy aroma‚ it’s ready to use. To ensure uniformity‚ sift the compost through a wire mesh screen or a frame with hardware cloth to separate any remaining large particles. These larger pieces can be returned to the bin for further decomposition. Store the finished compost in a dry‚ well-ventilated area until it’s time to apply it to your garden or houseplants. Proper storage preserves its nutrient-rich qualities‚ ensuring it enriches your soil effectively. Follow these steps to maximize your compost’s benefits.